Adding Postgres and ActiveRecord
Getting started - adding dependencies to your project
Guides, tutorials and labs to accompany CMU's Programming for Online Prototypes (49-714).
Everything you need to know about building microservices for the web with Ruby and Sinatra.
Guides on installing Ruby can be found on the main ruby site. These are collated below
If you’re on a Mac, start reading. If you’re on a Windows machine, skip to 2 below.
If you’re using OS X El Capitan, Yosemite, and Mavericks, Ruby 2.0 is included and you don’t need to do anything else
If you’re on Window’s Skip to 2.
To check if it’s installed open Terminal (you can find it on your Mac in Applications and then find the subfolder Utilities); then type the following at the command prompt
ruby -v
If you get something like the below you’re in business:
ruby 2.3.1p112 (2016-04-26 revision 54768) [x86_64-darwin15]
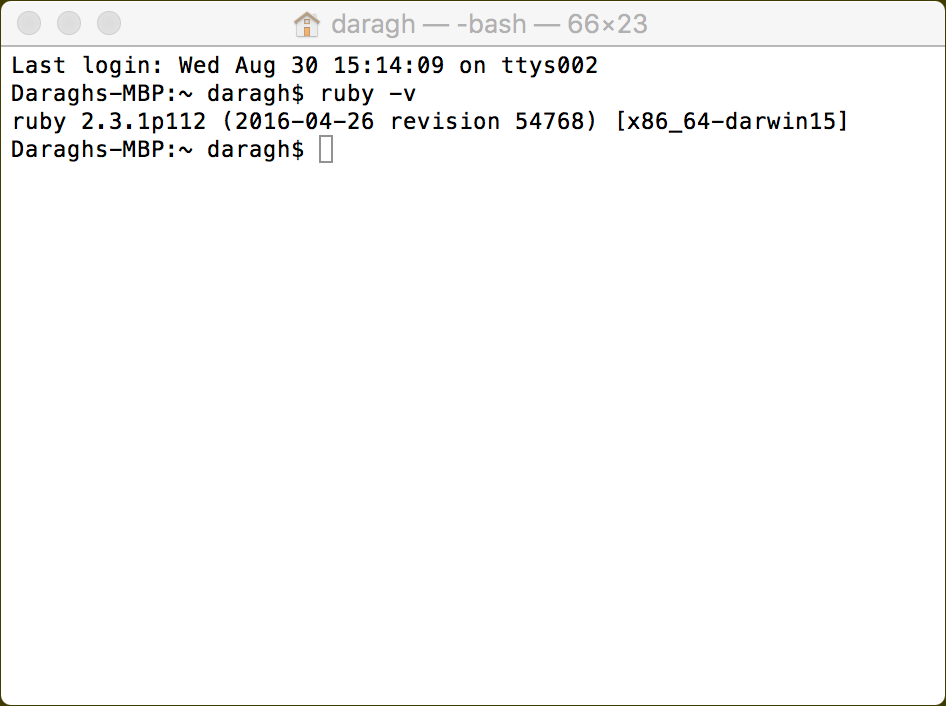
If the Ruby version number is lower than 2.3.1 or you don’t see something like the above, you should install or upgrade ruby. We’ll walk through this now.
The best (and personally recommended) way to install ruby on Mac OSX is to use HomeBrew and RVM. We’ll walk through this step by step below.
First check if it’s installed, by typing in the Terminal Window
brew
you’ll probably get something like this
-bash: brew: command not found
To install, type the following
/usr/bin/ruby -e "$(curl -fsSL https://raw.githubusercontent.com/Homebrew/install/master/install)"
Note: you might be asked to type your password in. That’s perfectly normal
RVM is a ‘command-line tool which allows you to easily install, manage, and work with multiple ruby environments from interpreters to sets of gems.’ It makes managing multiple versions of Ruby a breeze, as well as managing gemsets.
First, we’ll install gpg using HomeBrew, this checks the encryption and validity of the RVM download, and if you don’t have it installed you might get an error. To add it, type
brew install gpg
Then type:
gpg --keyserver hkp://keys.gnupg.net --recv-keys 409B6B1796C275462A1703113804BB82D39DC0E3
Now to install RVM, type
\curl -sSL https://get.rvm.io | bash -s stable
Note: you might be asked to type your password in. That’s perfectly normal
Close and reopen the terminal window. This refreshes some scripts and stuff in the background.
Finally, to install Ruby just type:
rvm install ruby --latest
Check that it’s installed by typing
ruby -v
Bundler is the most useful gem for working on web stuff. It allows you to quickly manage all the gems (or libraries) attached to your project. We’ll use it lots, so install it by typing:
gem install bundler
Note: These instructions are untested, I don’t have a Windows machine so you may encounter problems! fingers crossed you don’t
First check if it’s installed open Command Prompt (you can find by searching for cmd.exe in the Windows toolbar)
ruby -v
If you get something like the below you’re in business:
ruby 2.3.1p112 ...
If it shows any number below 2.3.1 you’ll need to install it again though.
On Windows machines, you can use RubyInstaller. Download the 2.3.1 (x64) version from their site and launch it. Follow the prompts and dialogs.
Once it’s finished. Close and reopen any Command Prompt windows, then type the following:
ruby -v
You should see something like the below
ruby 2.3.1 ...
Bundler is the most useful gem for working on web stuff. It allows you to quickly manage all the gems (or libraries) attached to your project. We’ll use it lots, so install it by typing:
gem install bundler
If you get an error you might need to do the following. Type:
gem sources -r https://rubygems.org -a http://rubygems.org