Adding Postgres and ActiveRecord
Getting started - adding dependencies to your project
Guides, tutorials and labs to accompany CMU's Programming for Online Prototypes (49-714).
Everything you need to know about building microservices for the web with Ruby and Sinatra.
Your text editor is where you’ll write and edit your code projects.
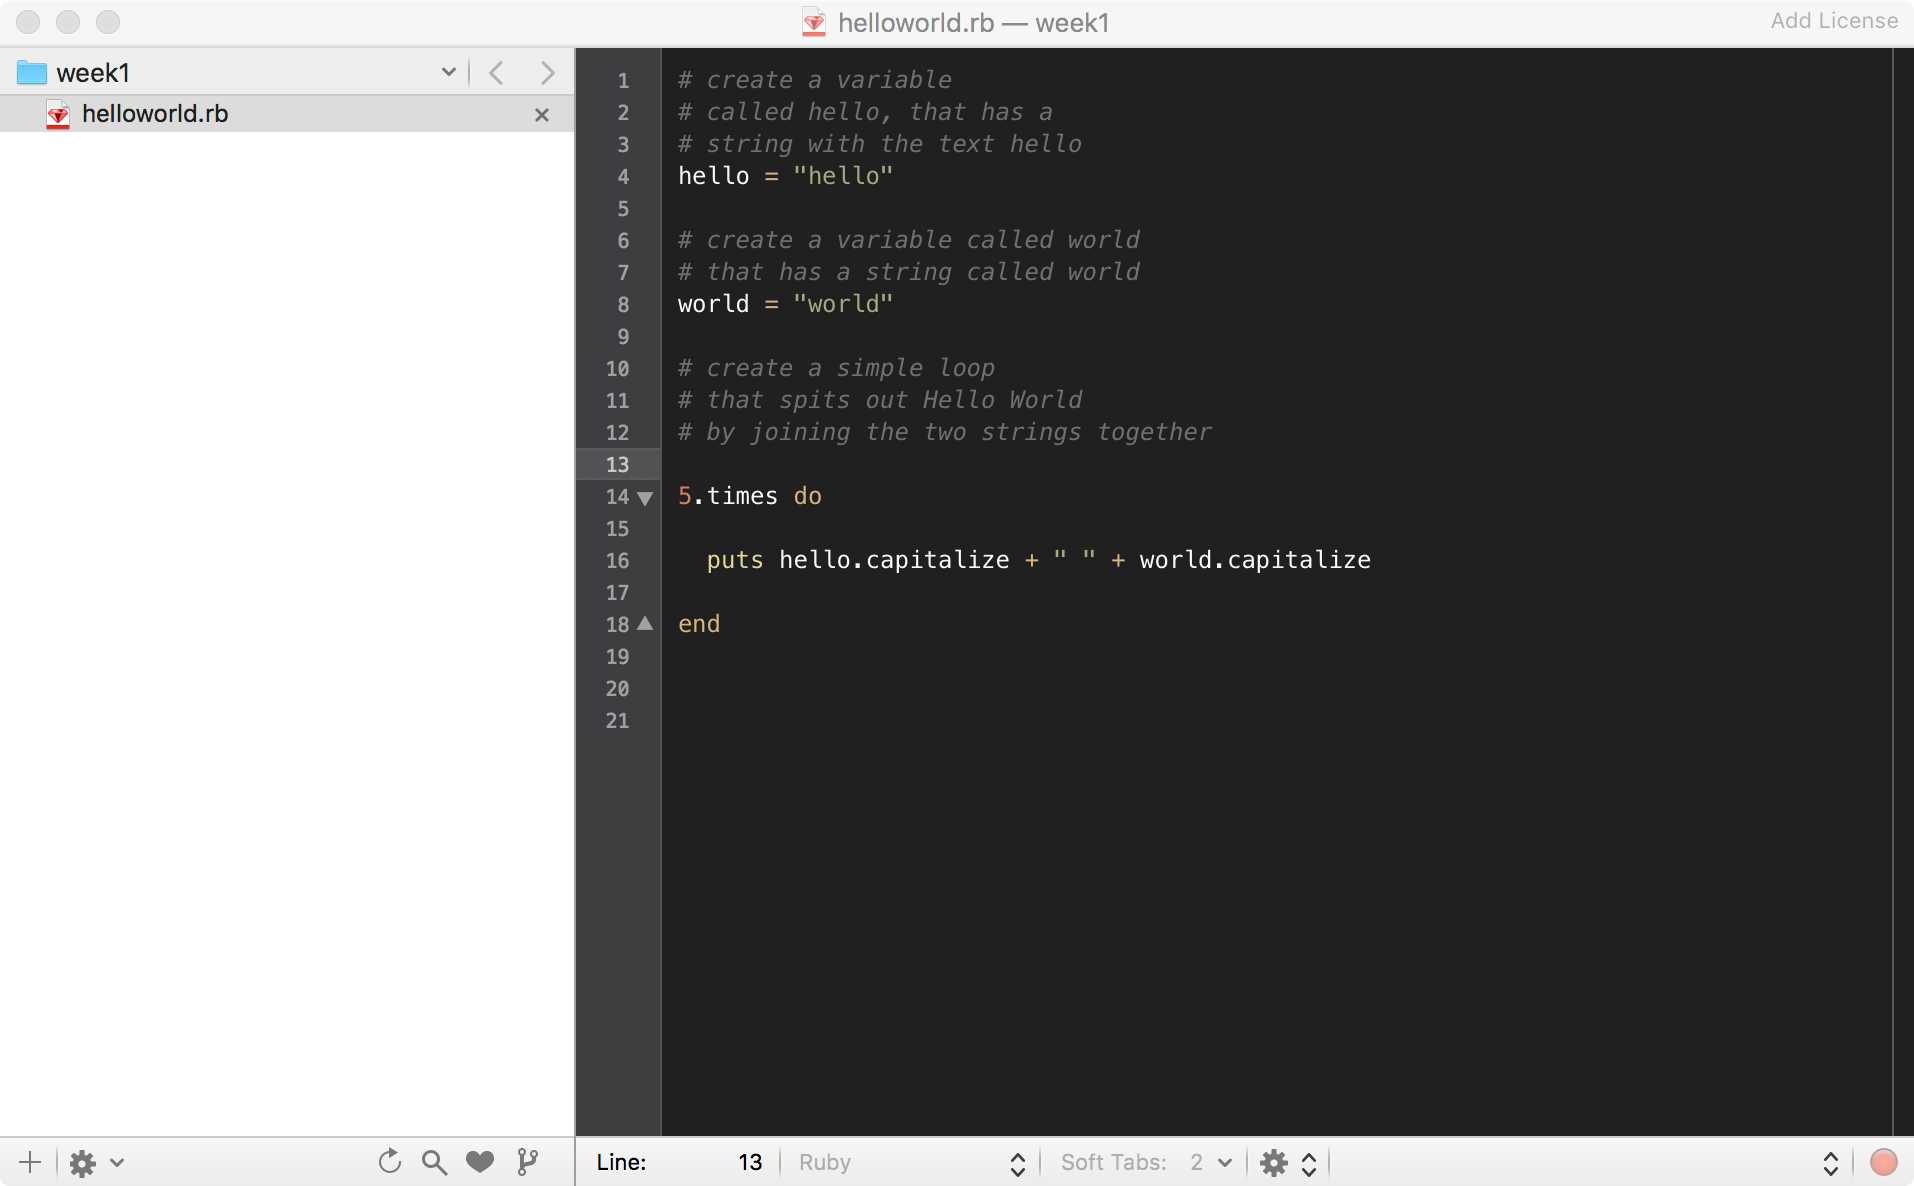
Each ruby program ends with a ‘.rb’
It’s also important that you make sure each application or project is contained in it’s own folder.
If you’ve written ruby scripts before you’ve probably been able to host lots of code in the same folder. However, when you write web services, there’s a bunch of reasons you’ll want to keep your projects self-contained. First, it’s a convention. Second, there will be hidden folders that help manage your code and it’s deployment that need to be project specific. That means you’ll create a lot of headaches for yourself later if there’s multiple projects in the same folder.
In addition you’ll want to make sure that you set up a folder on your computer to contain your code projects. Once you begin to add your projects to Git repos or deploy your code, moving the folder to another location on your computer can potentially mess a lot of things up.
Get into good habits about organizing your code early!
Your project will need to include two files
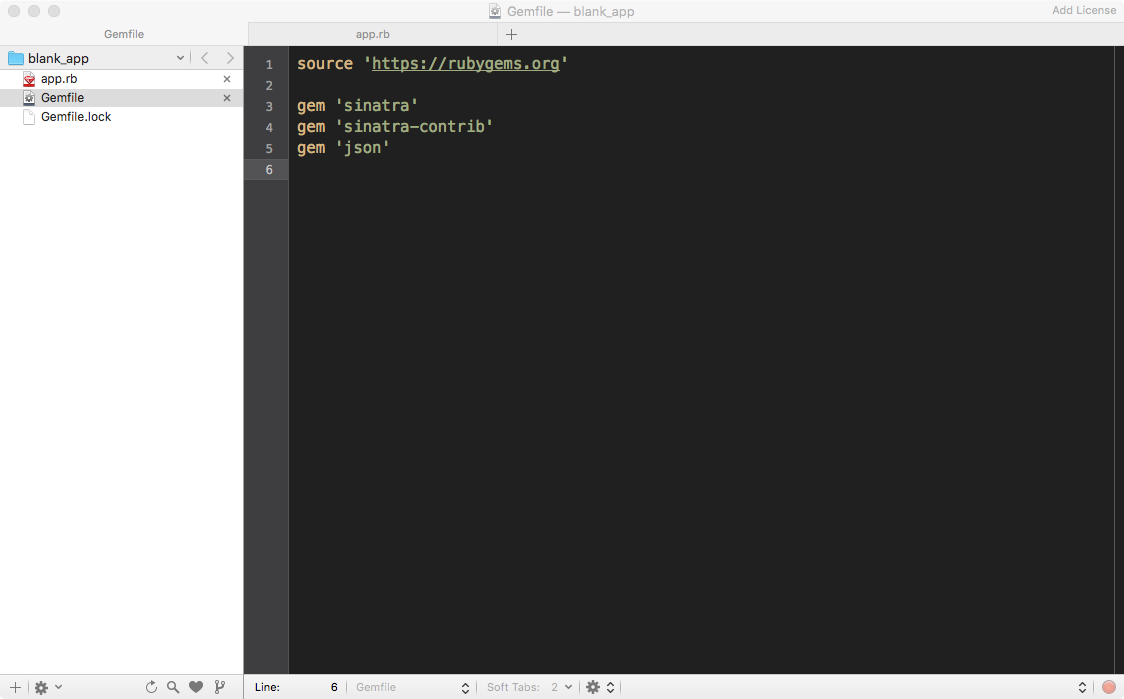
Gemfile - that lists the Gems needed for this project to run.app.rb) - that says how the web service will respond to incoming web requests.Gemfile
Most projects have lots of gems. We keep a list of the gems we want to use in a GemFile. These gems are updated by their developer. Using a GemFile means we can update them all at once.
Gems in a Gemfile are managed by another Gem called “bundler”. Bundler is a fantastic tool. As you update your gemfile - or the things needed to make your project run - you can use bundler to install the exact Gems using a single command. It’ll look to see if the Gem is available, what the latest version and install as needed. It can also check to see if a developer has released a new version of a Gem and update your project to include it.
Another advantage of the Gemfile is that we’re going to write and test our code on our local machine. At some point, we’ll want to put that code a server so that anyone connected to the web can access it. The Gemfile makes that a breeze, ensuring that the Gem’s we’ve got on our local machine are installed on the remote server too.

app.rb
The app.rb is where we write our code. It’ll look like the image above. The starting structure is almost always the same so you should feel free to copy and paste this code or start from a template.
In section 2, you’ll learn how to add code to your app.rb to make web-magic happen.
In tandem with your Text Editor, you’ll use:
Anytime you want to launch, run, test or deploy your web service.
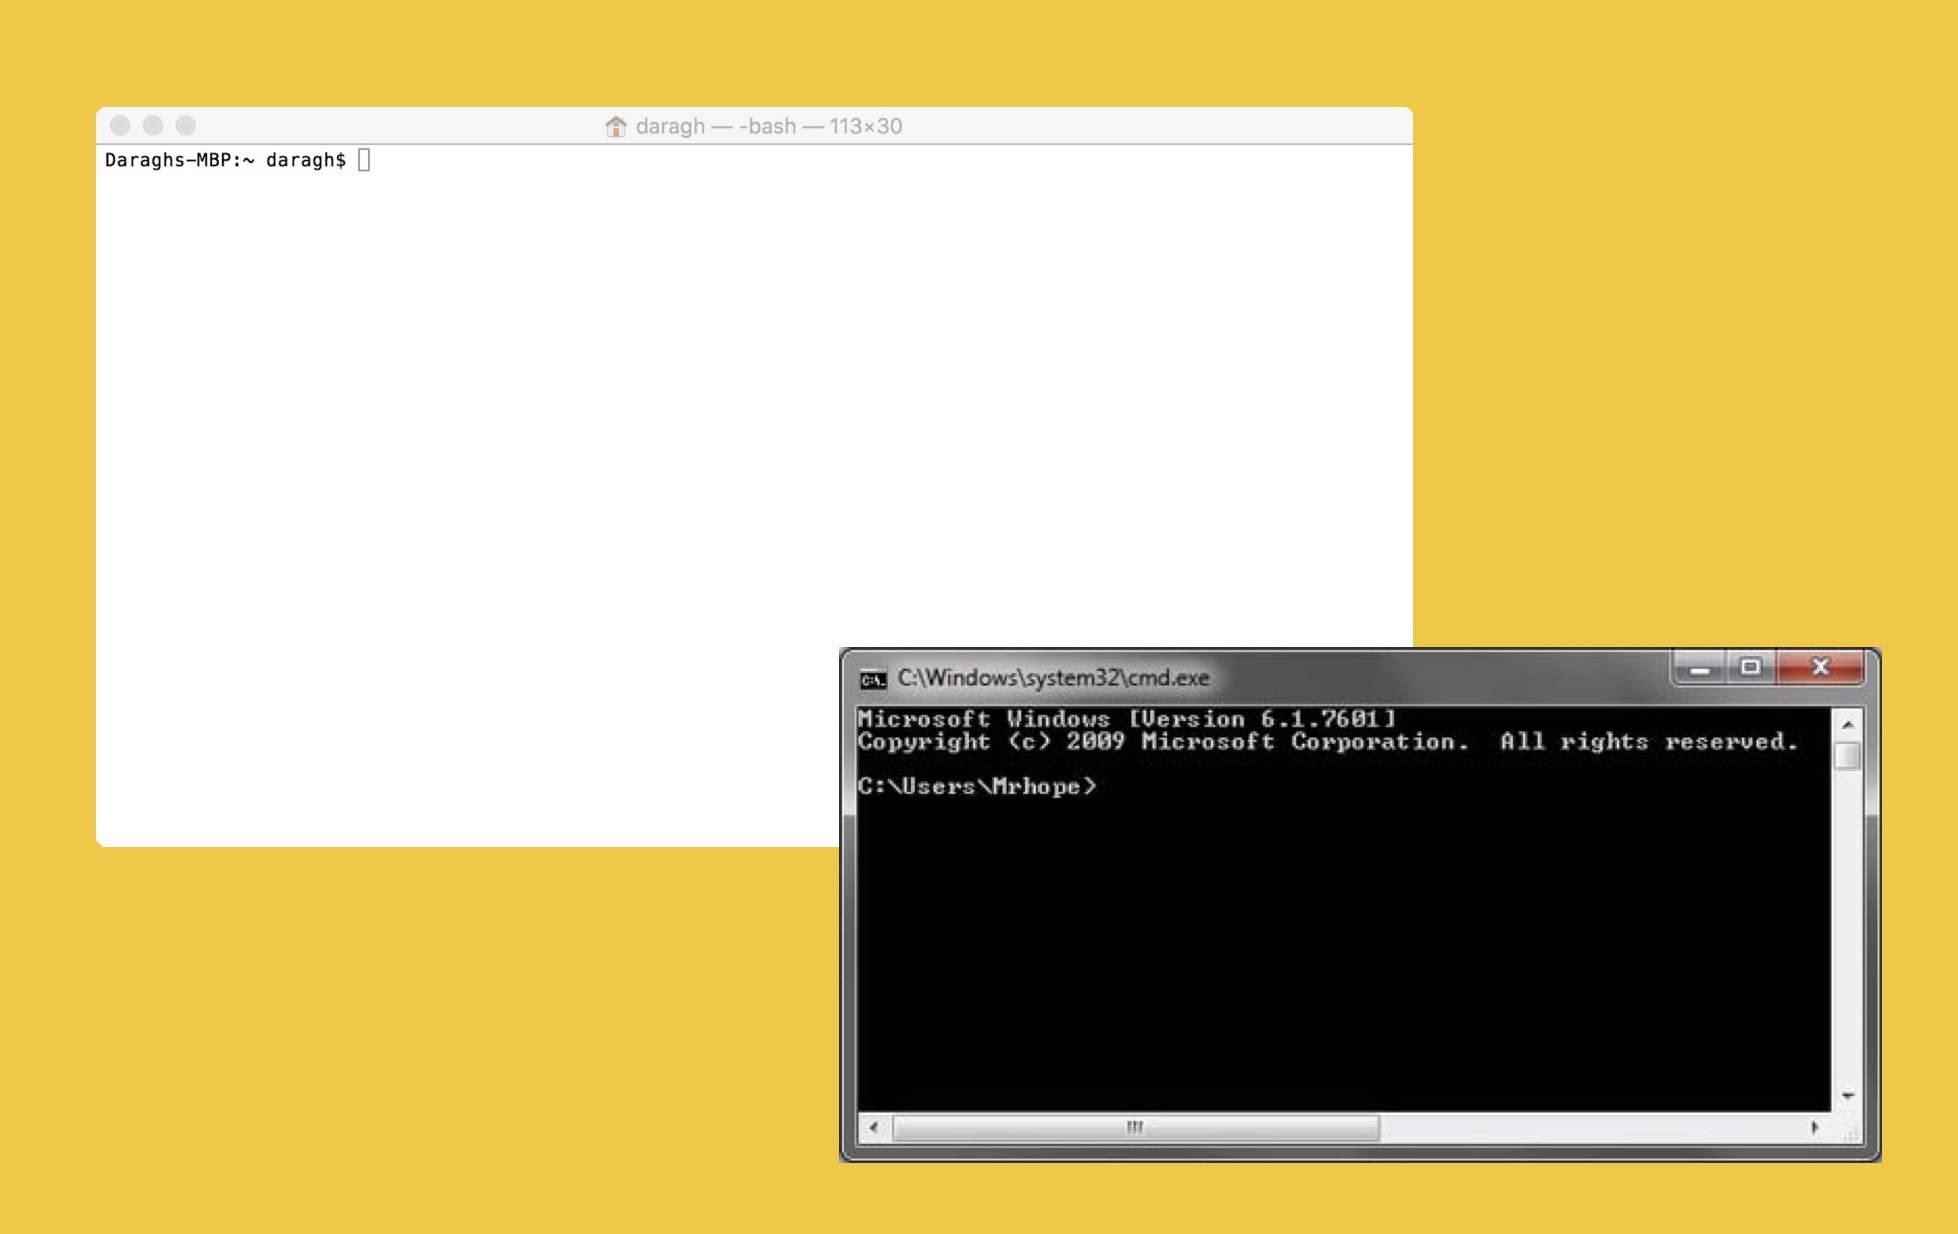
When working in the command line:
First make sure you’re project directory before issuing commands. You’ll need to change directory by using the command cd. For example: cd project_name
If you have changed anything in your Gemfile: bundle install
Start your program by prefixing ‘ruby’ then the file name: ruby the_project_name.app . You should see the output in the window
You can have more than one command line window (or tab ) open at the same time.